How to Use Heat Transfer Vinyl (HTV) Sheets: A Complete Guide
Good-quality vinyl is versatile for creating custom designs on fabric and other surfaces. Whether you are a beginner or a pro, understanding the right process for applying HTV sheets is crucial to getting long-lasting and high-quality results. This guide will walk you through everything you need to know about using HTV sheets, from selecting materials to applying designs precisely.
What is Heat Transfer Vinyl (HTV)?
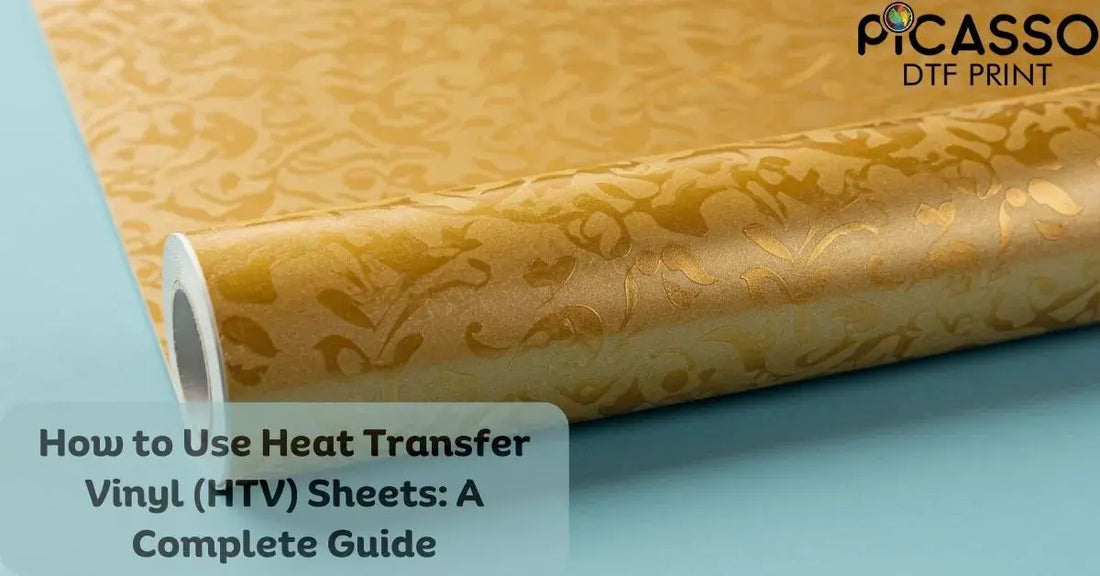
Heat Transfer Vinyl (HTV) is a special type of vinyl with heat-activated adhesive that bonds to fabrics and other surfaces. It’s used to decorate t-shirts, tote bags, hats and other textile products. HTV comes in various colors, finishes (matte, glossy, glitter, holographic), and specialty types like stretch and flocked vinyl. One of the speciality finishes available in HTV is the metallic sheen; it gives a modern look with a shiny, metallic effect. Holographic HTV has a multi-dimensional, iridescent finish that shifts colors with movement, adding a unique and eye-catching element to designs.
Essential Materials and Tools Needed
Before you start applying HTV, make sure you have the following materials:
- HTV Sheets: Choose the right type and color for your design.
- Cutting Machine or Scissors: A vinyl cutter (Cricut, Silhouette, Brother ScanNCut) is recommended for precise cutting. HTV is compatible with many crafts, so it’s versatile for different projects.
- Weeding Tools: These remove excess vinyl from the cut design.
- Heat Press or Iron: A heat press is recommended for a professional finish. It provides even pressure and temperature. A regular iron can be used but is not recommended.
- Teflon Sheet or Parchment Paper: Protects the vinyl and fabric from direct heat.
- Fabric or Surface: Cotton, polyester, blends or other HTV-compatible materials.
Step-by-Step Process to Apply HTV Sheets
1. Prepare Your Design
Use a cutting machine or design software to create your custom graphic. Cutting out the design is the first step in the HTV application. When setting up your design:
- Mirror (flip) the image horizontally before cutting.
- Adjust the cut settings according to the thickness of the HTV sheet. Do you have a project in mind? HTV can help you achieve it quickly.
2. Cut the HTV Sheet
- Load the HTV sheet into the cutting machine with the shiny (carrier) side facing down. The vinyl must be placed on the cutting mat with the correct side facing down.
- Select the correct material type and cut.
3. Weed the Excess Vinyl
- Use a weeding tool to remove the unwanted vinyl around your design.
- Don’t pull out small details or letters.
4. Prepare the Fabric
- Wash and dry the fabric before applying HTV to remove dust, lint or chemicals.
- Pre-press the fabric briefly with a heat press or iron to remove moisture and wrinkles.
5. Apply the HTV Using Heat
- Heat Press Method: Set the heat press to the recommended temperature (usually 300°F-350°F) and time (10-15 seconds). Ensure you apply heat for the recommended time to get the best results. HTV application involves temperatures ranging from 275°F to 320°F.
- Iron Method: Use the highest setting (without steam) and apply firm, even pressure for about 15-20 seconds per section.
- Place a Teflon sheet or parchment paper over the vinyl before pressing.
6. Peel the Carrier Sheet
- Depending on the type of HTV, you will either do a hot peel (immediately after pressing) or a cold peel (wait for it to cool before peeling).
- Slowly remove the carrier sheet and make sure the vinyl adheres well. The backing should be peeled off after the heat has been applied and removed from the vinyl.
7. Final Press and Care Instructions
- Re-press the design for 5-10 seconds for better durability with a protective sheet.
- Wait 24 hours before washing the fabric.
- Wash inside out with mild detergent; avoid bleach and high-heat drying. Proper care for HTV designs involves washing garments inside and out in cold water to maintain their quality and longevity.
Working with HTV on T-shirts and Other Apparel
Working with heat transfer vinyl (HTV) on t-shirts and apparel can be fun and creative. Here are a few tips to get you started:
Choose the Right HTV: Select a high-quality HTV for the fabric you’re working with. Patterned heat transfer vinyl adds an extra design layer to your project, making your custom t-shirts pop with unique and bright designs.
2. Pre-heat the Fabric
Before applying the HTV, pre-press the fabric with a heat press or iron to remove moisture. This step is crucial for the vinyl to adhere better to the fabric, resulting in a long-lasting finish.
3. Cut the HTV
- Load the HTV into the cutting machine with the shiny (carrier) side facing down. The vinyl must be placed with the correct side facing down on the cutting mat.
- Select the correct material type and cut.
4. Apply the HTV
- Place the HTV on the fabric, ensure it’s centered, and smooth out the wrinkles. Use a heat press or iron to apply heat and pressure to the vinyl, following the manufacturer’s instructions. This is where the magic happens: The heat activates the adhesive and bonds the vinyl to the fabric.
5. Peel the Backing
Once the vinyl cools, peel off the backing slowly and carefully to avoid damaging the design. The clear carrier sheet should come off easily, leaving your custom design perfectly adhered to the t-shirt.
You can create amazing custom apparel with heat transfer vinyl following these steps. Whether you’re making t-shirts for an event or starting a custom apparel business, HTV has endless possibilities for creativity and personalization.
Safety Precautions and Best Practices
When working with HTV, remember to follow these safety precautions and best practices:
- Wear Protective Gear: Wear gloves and safety glasses when using heat presses and cutting machines. This protects you from burns and injuries.
- Follow Manufacturer’s Instructions: Always follow the manufacturer’s instructions for the HTV, heat press and cutting machine. Each product has specific guidelines to follow to avoid accidents and damage.
- Work in a Well-Ventilated Area: Work in a well-ventilated area to avoid inhaling fumes from the heat press and cutting machine. Proper ventilation is important, especially when working at high temperatures.
- Clean Workspace: Keep the workspace clean and organized to avoid accidents and mistakes. A clean workspace helps you work faster and reduce errors.
- Test the HTV: Test the HTV on a small area of fabric before applying it to the entire design to ensure it adheres properly and doesn’t damage the fabric. This step can save you from mistakes and ensure the best results for your project.
Following these tips and safety precautions, you can create awesome designs on t-shirts and other apparel with heat transfer vinyl. Whether making custom apparel for personal use or for business, HTV is a great way to produce high-quality designs quickly and easily. Happy crafting! Siser Easyweed is known for its easy application and is a popular heat transfer vinyl brand, perfect for beginners and pros alike.
DTF vs. HTV: Which One is Better?
When choosing between Direct-to-Film (DTF) and Heat Transfer Vinyl (HTV), consider the following key differences:
|
Feature |
DTF (Direct-to-Film) |
HTV (Heat Transfer Vinyl) |
|---|---|---|
|
Durability |
High – withstands multiple washes |
Moderate – may crack over time |
|
Design Complexity |
Ideal for full-color and intricate designs |
Limited to cut shapes and colors |
|
Application Process |
Requires special DTF printer and powder adhesive |
Requires cutting, weeding, and heat pressing |
|
Fabric Compatibility |
Works on a variety of fabrics, including dark and light colors |
Best for cotton, polyester, and blends |
|
Cost |
Higher initial investment in equipment and supplies |
More affordable and beginner-friendly |
|
Production Speed |
Faster for bulk printing |
Slower due to manual cutting and weeding |
Which One Should You Choose?
-
Choose DTF if you need highly detailed, full-color prints and long-lasting durability.
-
Choose HTV if you prefer a budget-friendly and DIY approach for simpler designs.
Conclusion
Using Heat Transfer Vinyl (HTV) sheets is a fun and creative way to customize apparel and other fabric items. By following the correct steps—choosing the right materials, cutting, weeding, pressing and peeling—you can get lasting professional results. Whether you’re working on personal DIY projects or a business venture, mastering the HTV application will open up endless customization options.
Looking for high-quality HTV sheets or tools? Check online marketplaces and specialty stores to find what you need. Expressions Vinyl offers a variety of heat transfer vinyl products from top brands, so you can trust them for your crafting needs.
For those who need high-quality DTF transfers, Picasso Print DTF provides top-notch printing with vibrant colors, durability, and compatibility with different fabrics. Whether you’re working on personal projects or need bulk orders for your business, Picasso Print DTF delivers professional results with a fast turnaround.


0 comments